カメラキャリブレーション
前回の投稿から一週間近くたってしまったが,今日はカメラのキャリブレーションを実施しようと思う.
V4L2 を使ったカメラコントロール
キャリブレーションをする前に,カメラの設定をしないといけない.ピント,絞りやゲインの設定などである.設定可能なコントロールのリストを下記のコマンドで調べる.
hoge@hogepc:~$ v4l2-ctl -d /dev/videoLeftImgSrc --list-ctrls-menus

         brightness (int)    : min=0 max=4095 step=1 default=16 value=16
               gain (int)    : min=32 max=2047 step=1 default=32 value=32
  exposure_absolute (int)    : min=1 max=10000 step=1 default=333 value=10
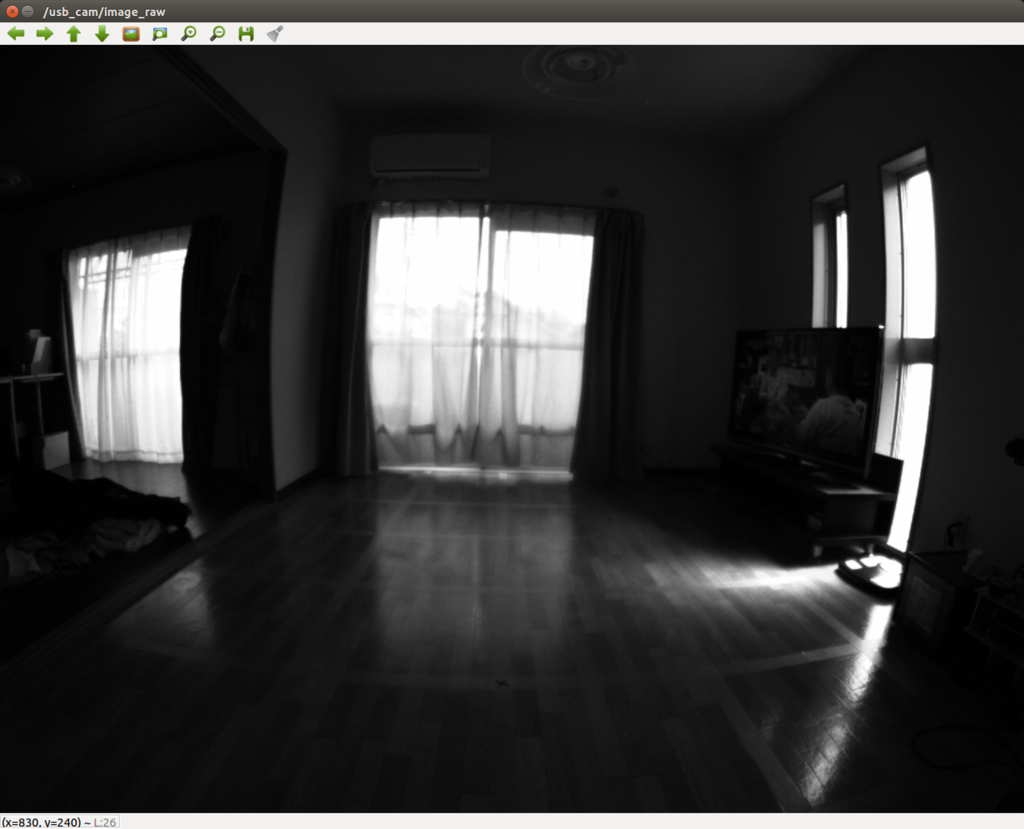
上記パラメータで撮影した画像が下記の写真.全体的に暗く,露光時間を上げる必要がある.

露光時間を上げる設定を実施.
hoge@hogepc:~$ v4l2-ctl -d /dev/videoLeftImgSrc --set-ctrl=exposure_absolute=100
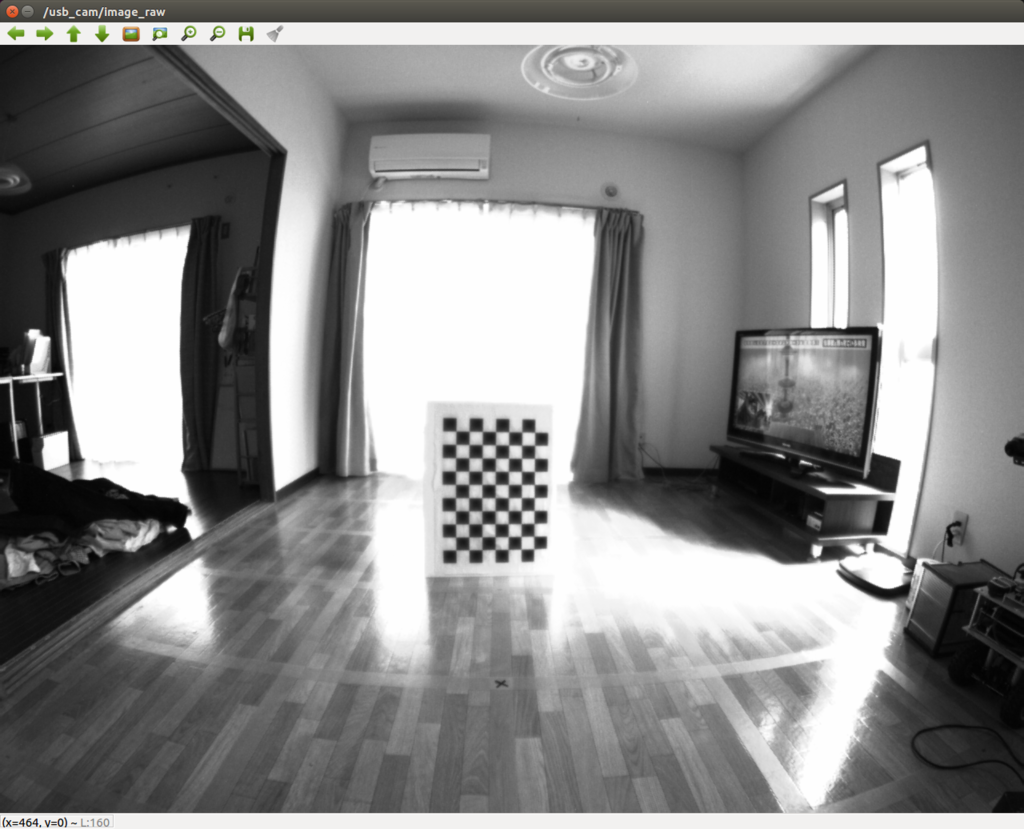
露光時間を上げたあとの写真.(テレビはさんまのまんま.今日のゲストは出川です.)

ROS を使ったカメラキャリブレーション
ここからは,ROS と自作キャリブレーションボードを使ったカメラキャリブレーションを実施する.
キャリブレーションボードの作成
自作キャリブレーションには下記の chesspattern を使用.
http://opencv.jp/sample/pics/chesspattern_7x10.pdf
リンク先の資料は A4 サイズようになっているので,4倍に拡大して継ぎ接ぎすることで A2 サイズのボードを作成.作成後のボードは下記.

ROS キャリブレーションの実施
具体的な手順は下記を参照.
camera_calibration - ROS Wiki
ROS カメラのドライバノードを立ち上げる.
hoge@hogepc:~$ roslaunch usb_cam usb_cam_mod-test.launch
以下,起動 launch ファイル (usb_cam_mod-test.launch)
<launch>
  <node name="usb_cam" pkg="usb_cam" type="usb_cam_node" output="screen" >
    <param name="camera_name" value="videoLeftImgSrc" />
    <param name="video_device" value="/dev/videoLeftImgSrc" />
    <param name="image_width" value="1280" />
    <param name="image_height" value="960" />
    <!-- <param name="pixel_format" value="grey" /> -->
    <param name="pixel_format" value="bayer_grbg8" />
    <param name="camera_frame_id" value="usb_cam" />
    <param name="io_method" value="userptr"/>
    <param name="camera_info_url" value="file:///xxxx/usb_cam/launch/camera_info/videoLeftImgSrc_1280x960.yaml"/>
  </node>
  <node name="image_view" pkg="image_view" type="image_view" respawn="false" output="screen">
    <!--<remap from="image" to="/usb_cam/image_raw"/>-->
    <remap from="image" to="/usb_cam/image_raw"/>
    <param name="autosize" value="true" />
  </node>
</launch>
ROS camera_calibration ノードを立ち上げる.
hoge@hogepc:~$ rosrun camera_calibration cameracalibrator.py --size 10x7 --square 0.445 image:=/usb_cam/image_raw camera:=/usb_cam
上記コマンドを実行後,下記のキャリブレーション Window が立ち上がるので,画像内でボードをいろいろと動かしてサンプル数を増やす.適切にサンプル数を増やしていくことによって,右側のバーの値が上がっていく.最終的に,x, y, skew, size の 4 項目が全部緑になったらとりあえずキャリブレーション実行.

以下,キャリブレーション結果
[image]

width
1280

height
960

[narrow_stereo]

camera matrix
631.970382 0.000000 666.559439
0.000000 634.739853 507.227851
0.000000 0.000000 1.000000

distortion
-0.224393 0.036108 -0.002063 -0.002725 0.000000

rectification
1.000000 0.000000 0.000000
0.000000 1.000000 0.000000
0.000000 0.000000 1.000000

projection
434.929535 0.000000 666.586920 0.000000
0.000000 533.741333 514.566055 0.000000
0.000000 0.000000 1.000000 0.000000
上記結果を元に, camera_calibration ファイルを作成する.
hoge@hogepc:~$ gedit videoLeftImgSrc_1280x960.yaml
image_width: 1280
image_height: 960
camera_name: videoLeftImgSrc
camera_matrix:
  rows: 3
  cols: 3
  data: [631.970382, 0, 666.559439, 0, 634.739853, 507.227851, 0, 0, 1]
distortion_model: plumb_bob
distortion_coefficients:
  rows: 1
  cols: 5
  data: [-0.224393, 0.036108, -0.002063, -0.002725	, 0]
rectification_matrix:
  rows: 3
  cols: 3
  data: [1, 0, 0, 0, 1, 0, 0, 0, 1]
projection_matrix:
  rows: 3
  cols: 4
  data: [434.929535, 0, 666.586920, 0, 0, 533.741333, 514.566055, 0, 0, 0, 1, 0]
ROS キャリブレーション結果を用いて,画像の Undistort
作成した camera_calibration ファイルを使用して,画像の Rectification を実施.
カメラドライバノードの起動.
hoge@hogepc:~$ roslaunch usb_cam usb_cam_mod-test.launch
Rectification 画像作成ノードの起動.
hoge@hogepc:~$ ROS_NAMESPACE=usb_cam rosrun image_proc image_proc
Rectification 画像表示ノードの起動.
hoge@hogepc:~$ rosrun image_view image_view image:=/usb_cam/image_rect
Rectification 後の画像.画面端の窓枠が曲線から直線に治っていることがわかる.
(ただ,画面の本当に端の部分はまだ歪んでいるので,もう少し改善の余地があるのかも.)
